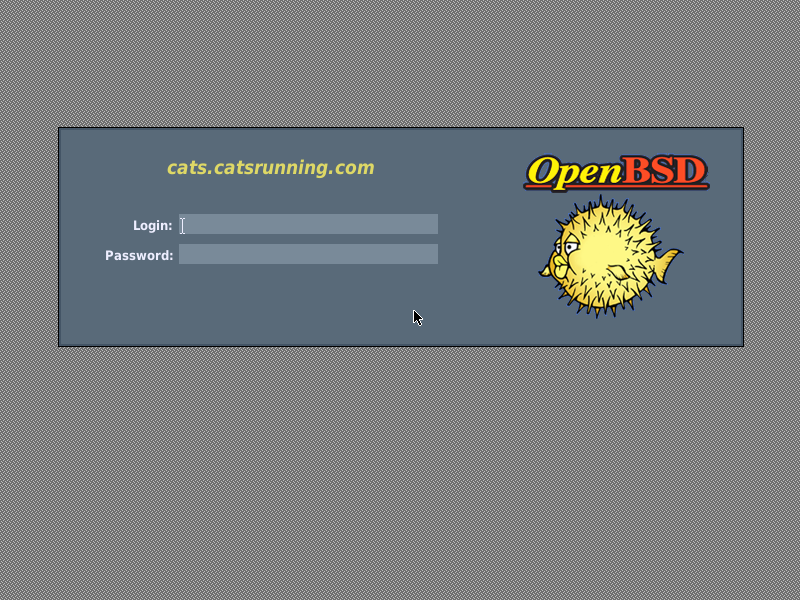
Installing OpenBSD
Installing OpenBSD is very simple, involves choosing appropriate options by pressing appropriate keys.
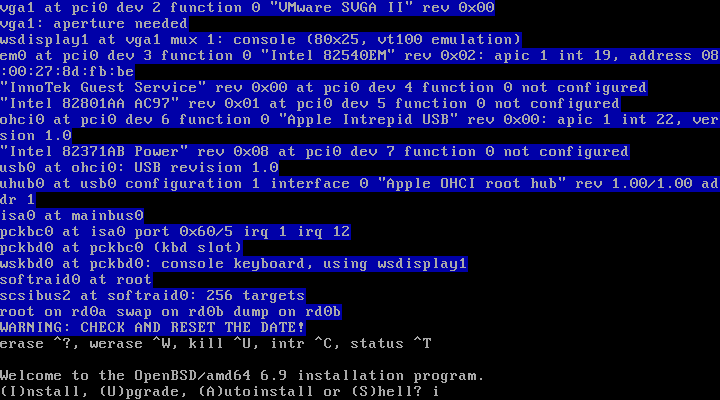
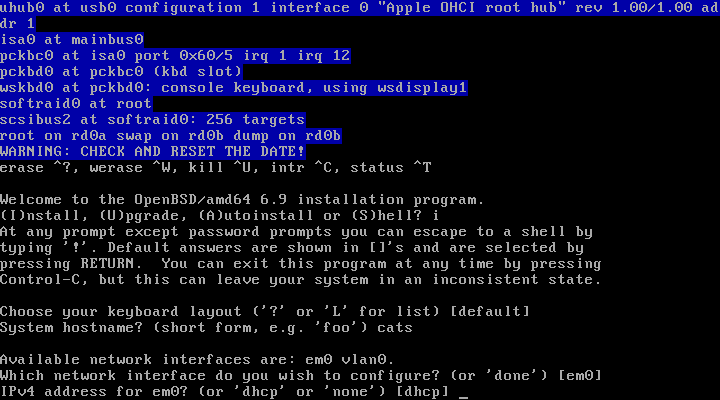
Starting the installer is done by typing the letter i and pressing enter.
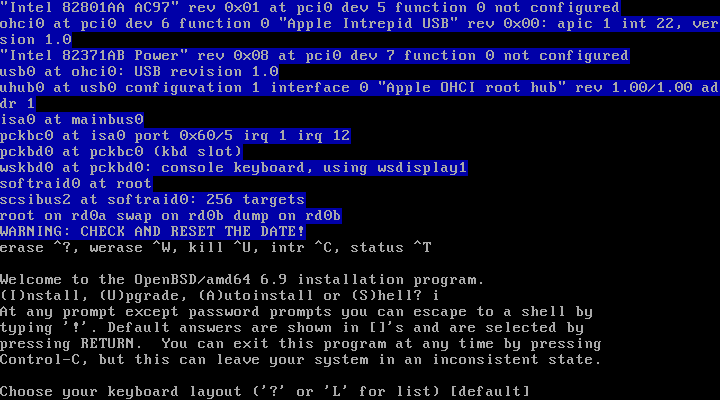
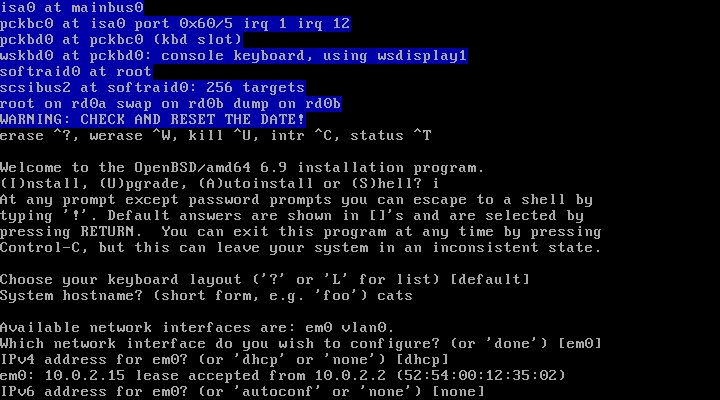
Following option is choosing the keyboard layout.
Hit enter to choose the [default] option and proceed, otherwise select L to list available Keyboard layouts.
The [default] options is US QWERTY keyboard.
Following the install steps below is sufficient, screenshots are provided below.
Installation Steps:
Select an option and hit enter to proceed:
| No | Options | Choose | Description |
|---|---|---|---|
| 1. | Installer: | i + enter | Starts the installer |
| 2. | Keyboard: | [default] + enter | Selects QWERTY keyboard |
| 3. | Hostname: | OpenBSD-VM + enter | Gives computer a name |
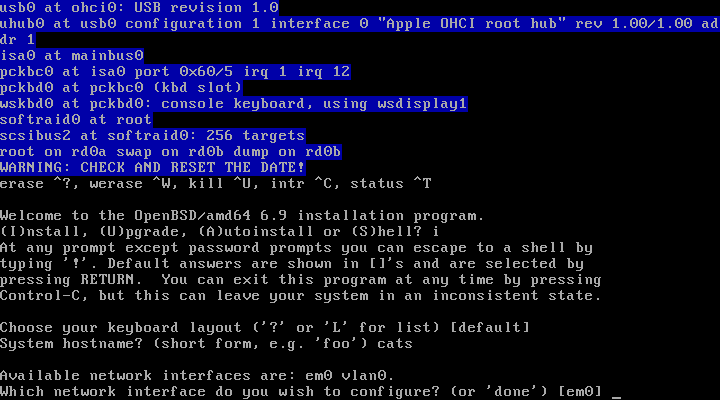
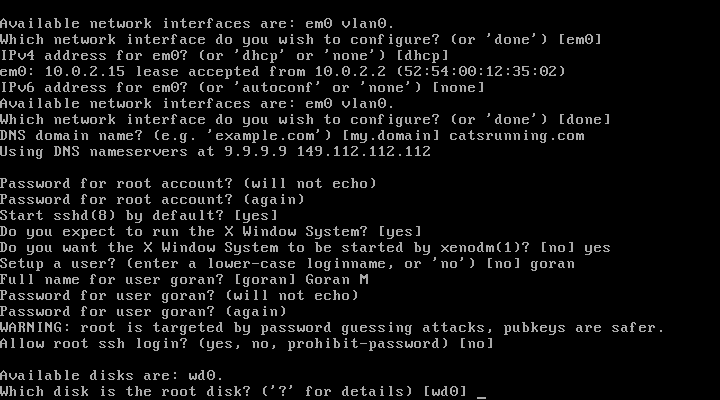
| 4. | Network: | [em0] + enter | Selects em0 as default Network device |
| 5. | IPv4: | [dhcp] + enter | Selects DHCP for IPv4 |
| 6. | IPv6: | [none] + enter | Selects not to use IP version 6 |
| 7. | Network: | [done] + enter | Done with setting up network |
| 8. | Domain name: | catsrunning.com + enter | Domain name of server |
| 9. | Password: | 5235678 + enter | Sets root password as 5235678 |
| 10. | Password: | 5235678 + enter | Again |
| 11. | sshd: | [yes] + enter | Starts SSH daemon at boot |
| 12. | X: | [yes] + enter | Installs Xorg on sytem |
| 13. | xenodm: | [yes] + enter | Starts X automatically. If no is selected X can be started by typing startx |
| 14. | User: | john + enter | Creates user 'john' |
| 15. | Name: | John Smith + enter | Saves Full name of user |
| 16. | Password: | 123456 + enter | Creates password for user john |
| 17. | Password: | 123456 + enter | Again |
| 18. | Root SSH: | [no] + enter | Select no to disallow root logins and use user john to SSH into VM |
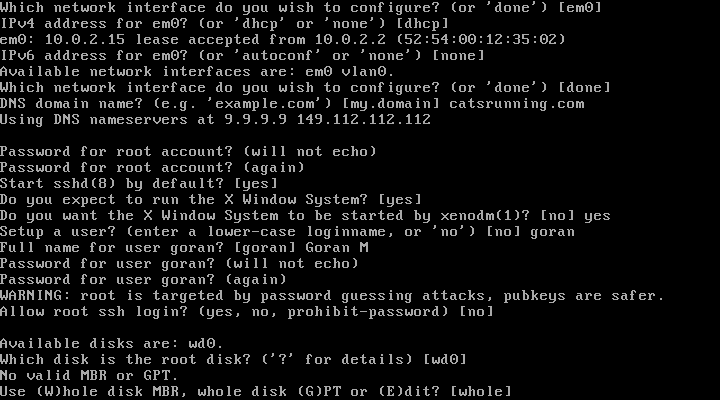
| 19. | Disk: | [wd0] + enter | Selects the disk wd0 to install OpenBSD |
| 20. | Whole: | [whole] + enter | Uses whole disk with MBR. To use GPT select G if installing on a real and new Computer |
| 21. | Auto: | [a] + enter | Selects auto layout of partitions on disk |
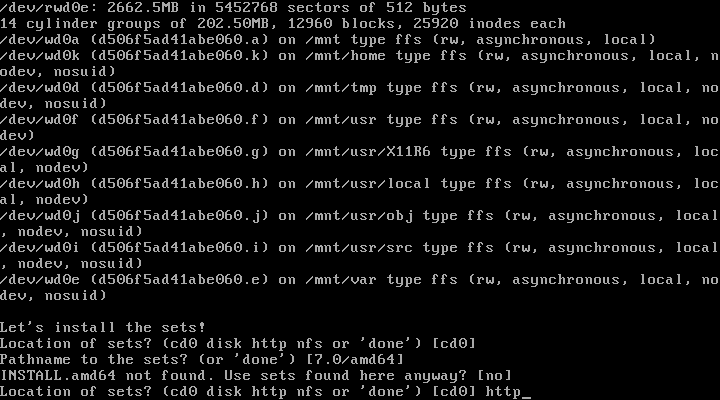
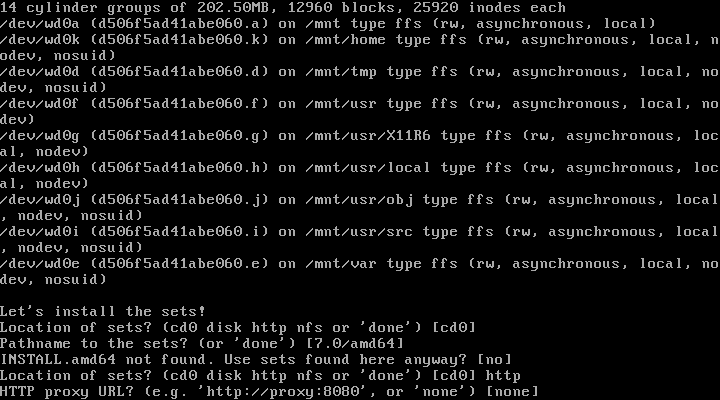
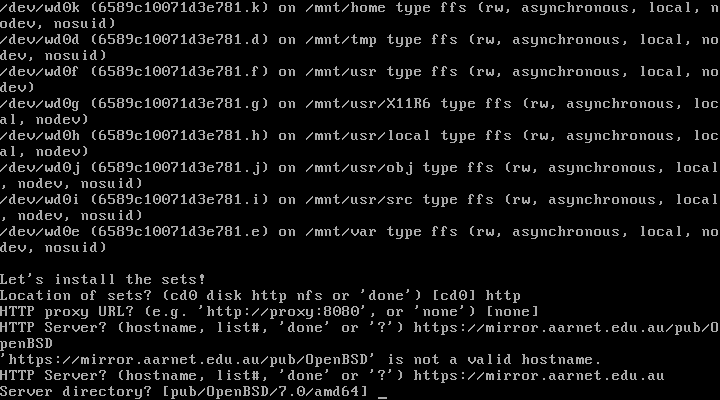
| 22. | Location of Sets: | [http] + enter | Selects http as location of sets to be installed |
| 23. | Proxy: | [none] + enter | No proxy server selected |
| 24. | HTTP Server: | https://mirror.aarnet.edu.au + enter | Selects an Australian mirror |
| 25. | Server directory: | [pub/OpenBSD/7.0/amd64] + enter | Hit enter, it will automatically select the needed directory [pub/OpenBSD/7.0/amd64] as location of sets |
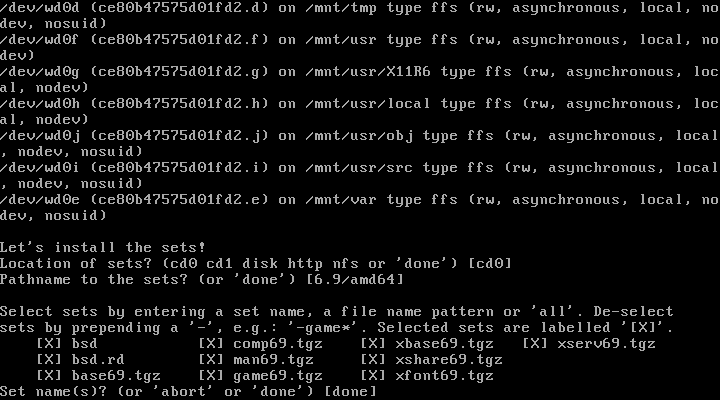
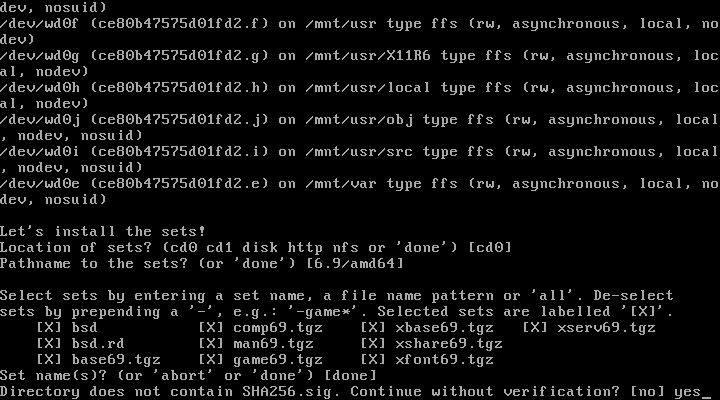
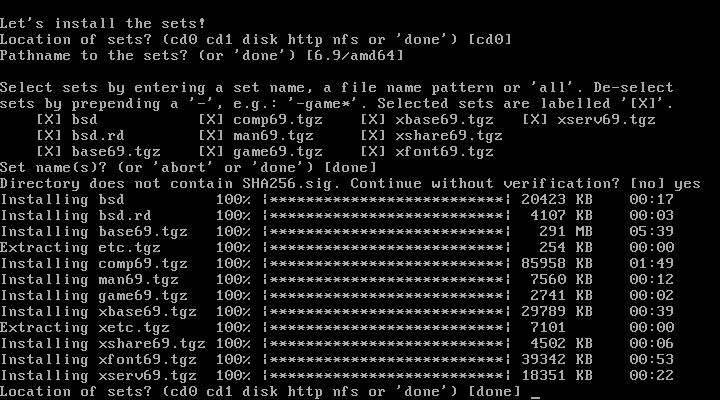
| 26. | Select sets: | [done] + enter | Hit enter to select to install all sets. If installing form cd instead http you would type yes here and proceed. |
| 27. | Location of Sets: | [done] +enter | Done, no additional sets to install |
| 28. | Timezone: | [Australia/Brisbane] + enter | Type appropriate Time Zone and hit enter |
| 29. | Reboot: | [reboot] + enter | Reboot the system. Remove the DVD boot disk if it boots to install again. |
After OpenBSD is installed go to Post Install
Copy paste options:
Mirror:
https://mirror.aarnet.edu.au
Time Zone:
Australia/Brisbane
Screenshots
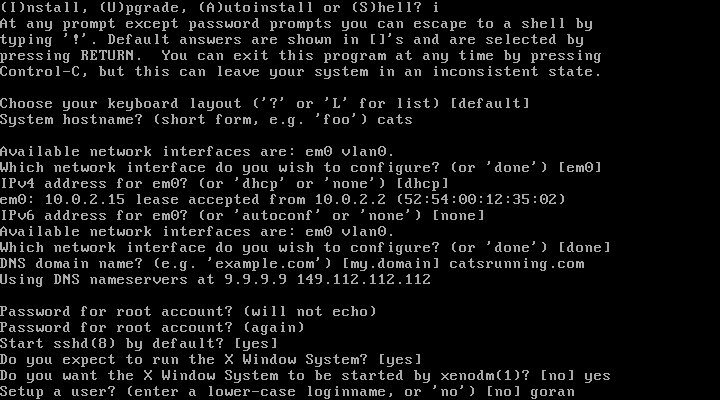
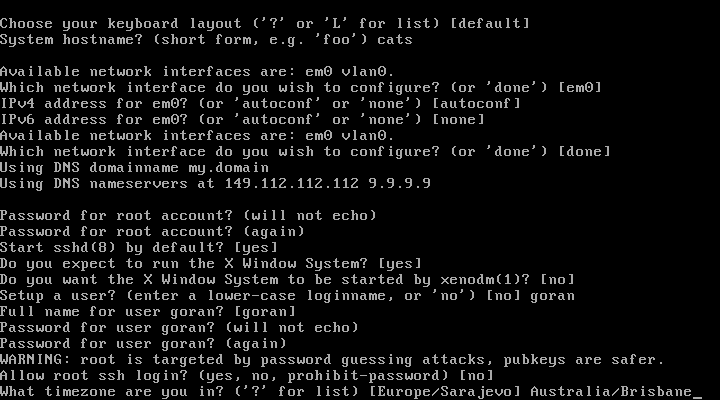
1. Start the Installer
2. Choose a Keyboard layout
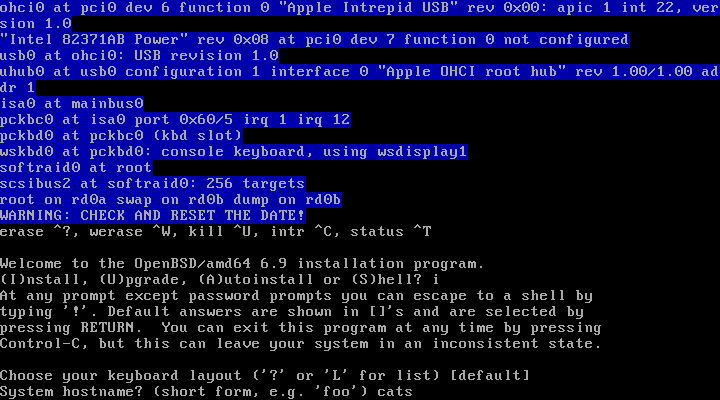
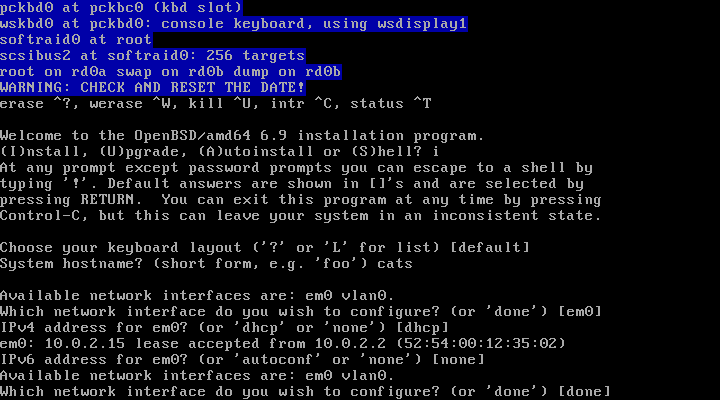
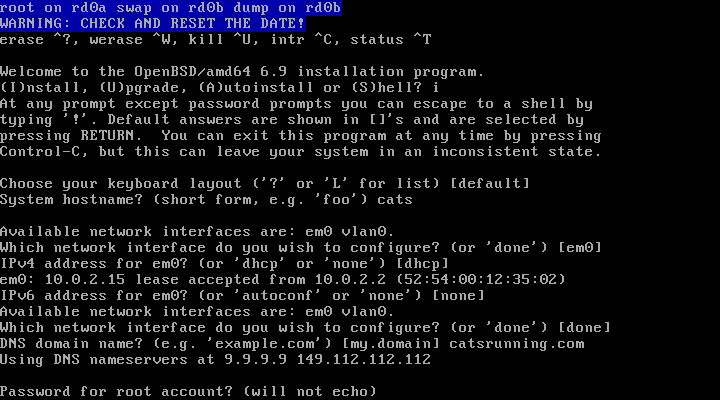
3. Enter a Hostname
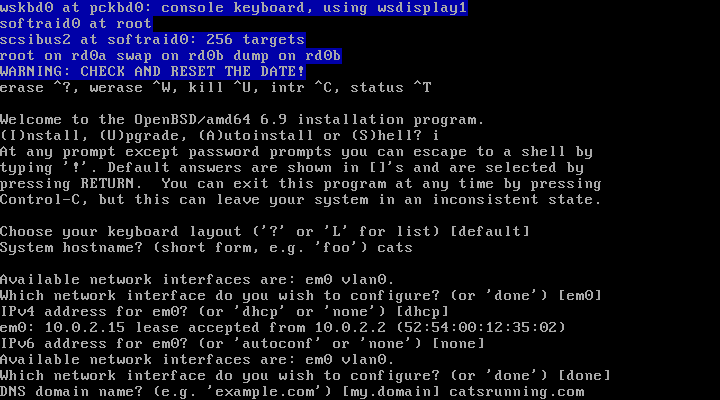
4. Choose Network Interface
5. Selecd DHCP for IPv4
6. IPv6 not used
7. Done with Network
8. Enter a Domain Name
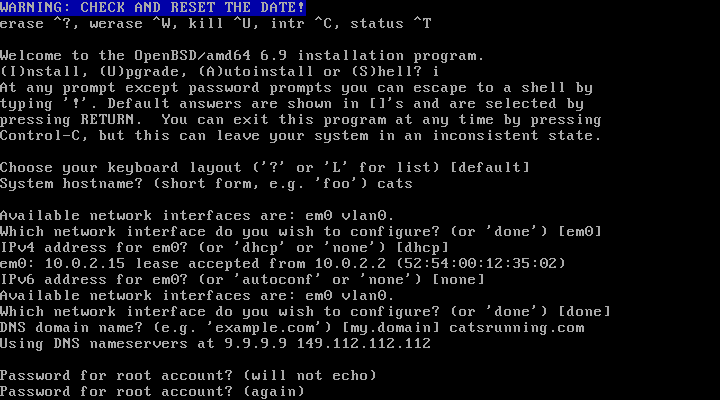
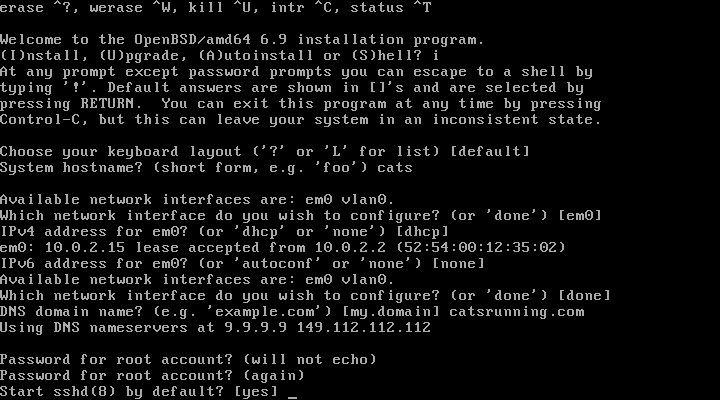
9. Enter assword for root account
10 Enter assword again
11. Start SSH daemon at boot
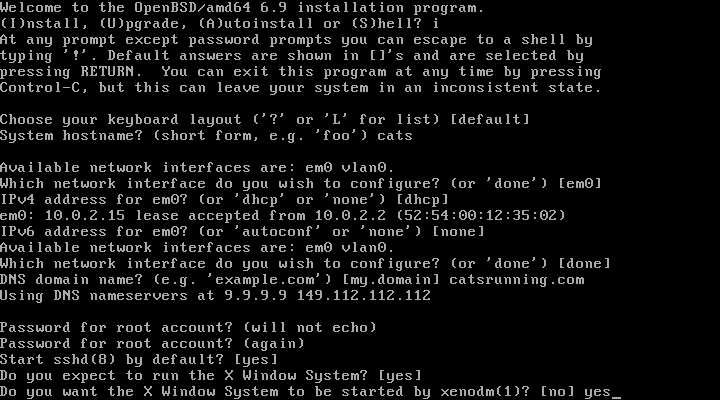
12. Install X Window System

13. Start X by xenodm automatically
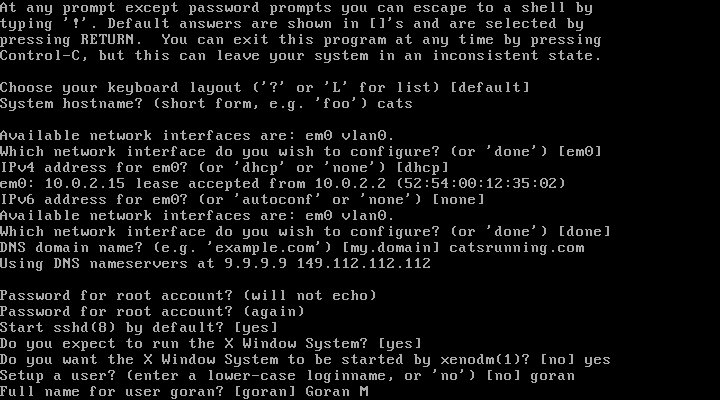
14. Set up a user
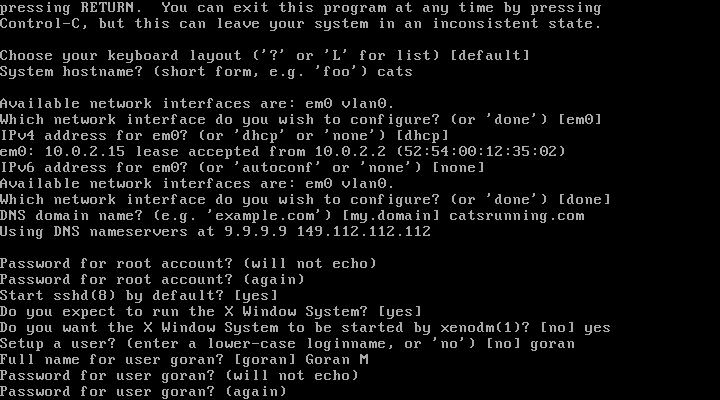
15. Enter full name of user
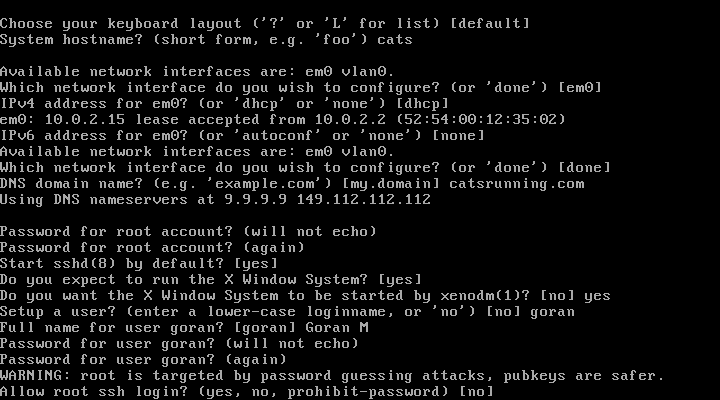
16. Enter password for user
18. Allow root SSH login
19. Select root disk to install OpenBSD
20. Selects whole disk with MBR
21. Use automatic partition layout

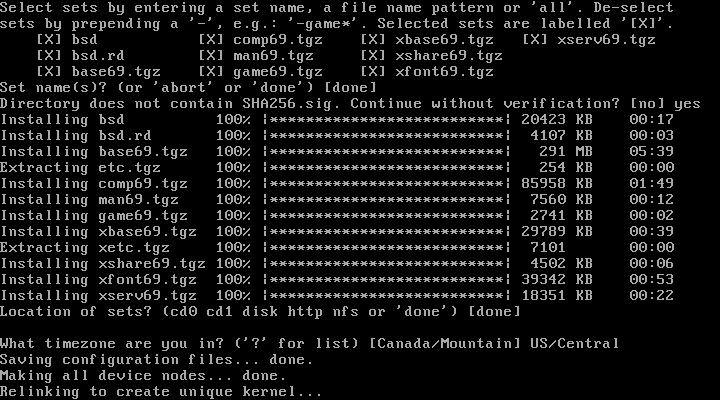
22. Selects http as location of sets to be installed
23. No proxy server
24. 25.
-
Set
https://mirror.aarnet.edu.auas http server mirror -
Hit
enterto select [pub/OpenBSD/7.0/amd64] as location of sets
26. Select sets
26. In case sets are being installed from a cd type yes
27. Done installing sets
28. Set Time Zone
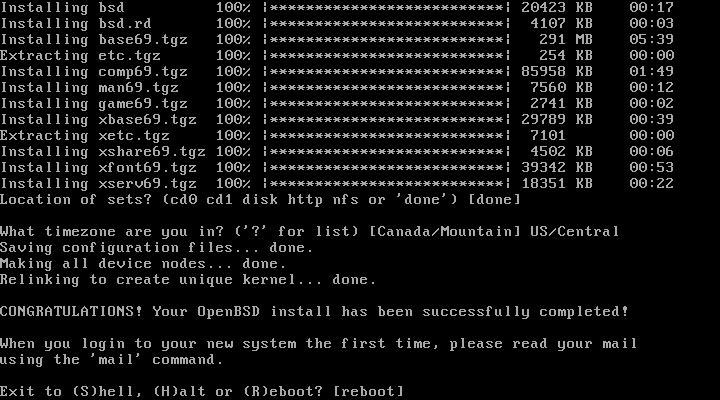
Relinking to create a unique kernel
reboot
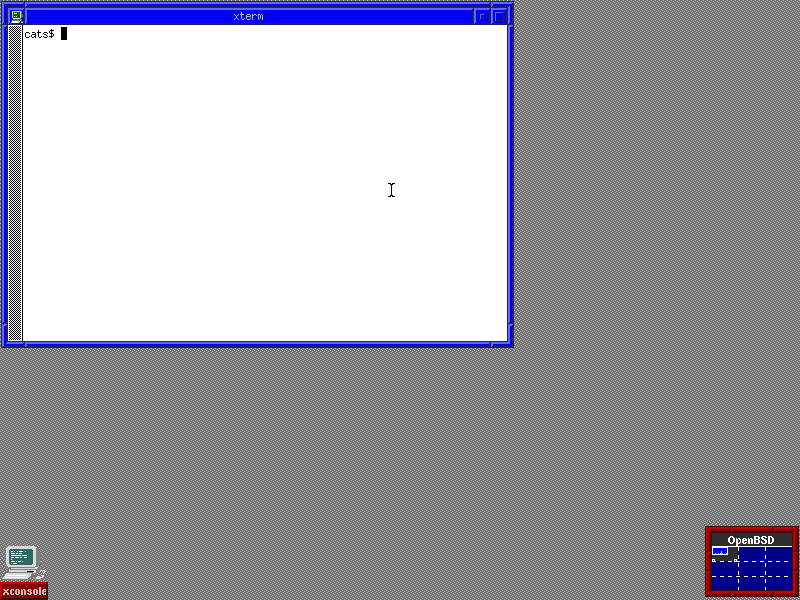
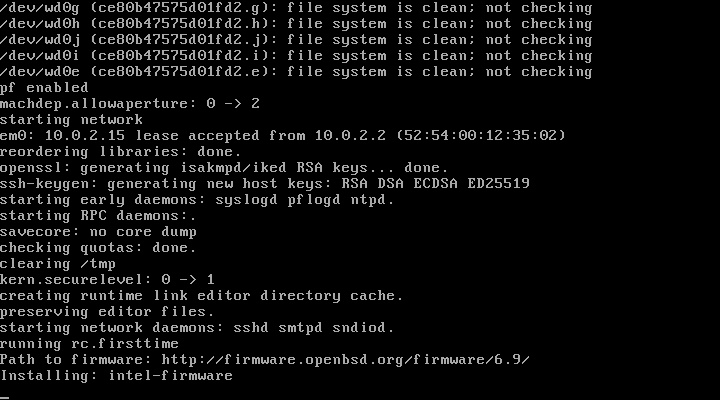
After reboot
Default X Window Manager installed